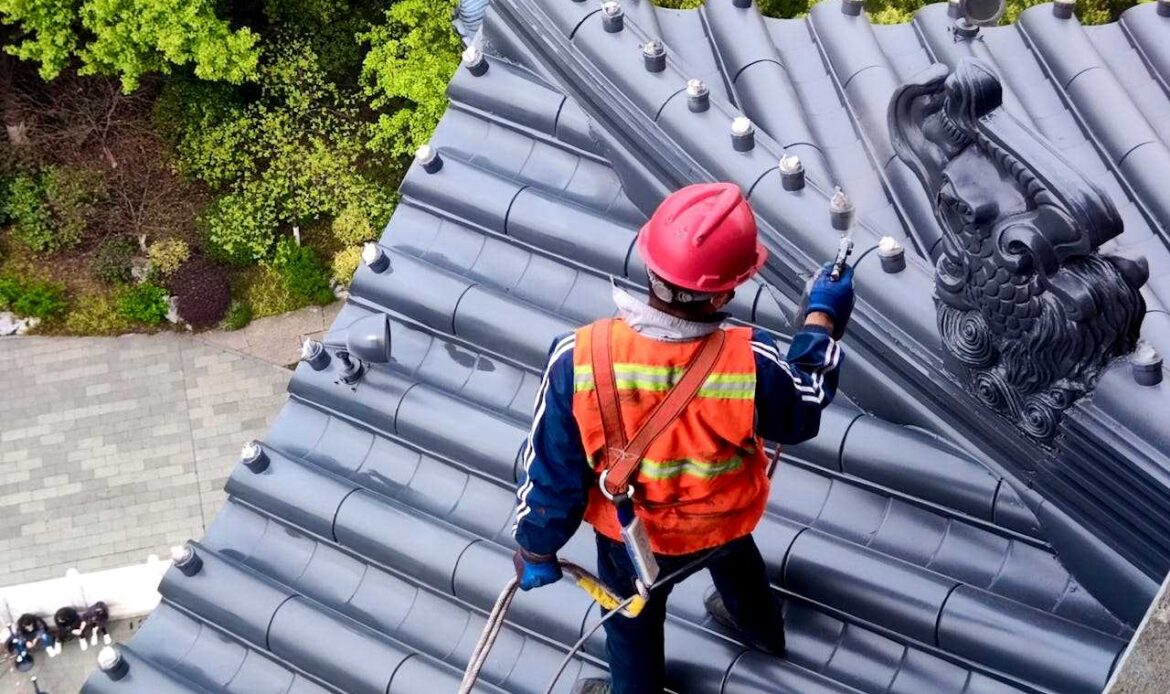
Roof leaks can be a real headache for homeowners. If left unchecked, they can cause significant damage to your home. But don’t worry, fixing a roof leak can be straightforward if you know what to do. By following a few simple steps, you can address the problem and prevent it from happening again.
Identifying the Source of the Leak
The first step in fixing a roof leak is to figure out where the water is coming from. This can be tricky because water might enter at one spot and travel before it shows up as a leak. Start by checking the attic or ceiling for water stains. These stains often point to the source of the leak. Look for any damp spots, drips, or dark streaks.
Next, take a look at your roof from the outside. Use binoculars to spot any missing or damaged shingles. Pay close attention to areas around chimneys, skylights, and vents because these are common places for leaks. You can also use a garden hose to spray water on different parts of the roof while someone inside watches for drips. This method helps to pinpoint the exact location of the leak.
Remember, the source of a leak could be something small, like a loose nail or a tiny crack. Checking thoroughly and patiently will help you find where the problem is and determine the best way to fix it.
Gathering Essential Tools and Materials
Once you’ve identified the leak, the next step is to gather all the tools and materials you’ll need for the repair. Having everything ready will make the process smoother and faster. Here’s a list of common tools and materials you might need:
– Ladder: To safely reach your roof.
– Roofing cement: To seal cracks and gaps.
– Nails and hammer: For securing loose shingles or tiles.
– Replacement shingles or tiles: In case you need to replace damaged ones.
– Flashing: To replace any that might be cracked or corroded around chimneys, vents, or skylights.
– Utility knife: For cutting shingles or felt paper.
– Caulking gun: For applying roofing cement or sealant.
– Trowel: For spreading roofing cement evenly.
Make sure to use safety gear, like gloves and non-slip shoes, when working on the roof. Having a partner to help you can make the job safer and easier. Once you’ve got your tools and materials ready, you’re all set to start fixing the leak.
Step-by-Step Guide to Fixing Common Roof Leaks
Now that you have identified the source of the leak and gathered your tools, it’s time to fix the leak. Follow these steps to make your roof watertight again:
1. Replace Damaged Shingles:
– Slide a flat pry bar under the damaged shingle to loosen the sealant.
– Remove the nails holding the shingle in place.
– Slide a new shingle into place and secure it with nails.
– Apply roofing cement to the shingles around the new one to seal them.
2. Seal Cracks and Gaps:
– Clean the area around the crack or gap to remove any dirt or debris.
– Use a caulking gun to apply roofing cement to the crack or gap.
– Smooth the cement with a trowel to ensure it covers the area completely.
3. Repair or Replace Flashing:
– Remove any old or damaged flashing around chimneys, vents, or skylights.
– Cut new flashing to fit the area and slide it into place.
– Secure the flashing with nails and seal the edges with roofing cement.
4. Fix Small Holes:
– Clean the area around the hole.
– Apply a patch of roofing fabric over the hole.
– Cover the fabric with roofing cement and smooth it out.
By following these steps, you can handle most common roof leaks. Always take your time to do each step carefully to ensure a proper fix.
Preventive Measures to Avoid Future Leaks
Once you have fixed the leak, it’s crucial to take preventive measures to stop future leaks. Regular maintenance can save you a lot of trouble in the long run. Here are some tips to keep your roof in good shape:
1. Routine Inspections:
– Check your roof at least twice a year, in the spring and fall.
– Look for signs of wear and tear, like cracked or missing shingles.
– Pay attention to areas around chimneys, skylights, and vents.
2. Clean Your Gutters:
– Remove leaves and debris from your gutters regularly.
– Ensure downspouts are clear to allow water to flow freely away from your roof.
3. Trim Overhanging Branches:
– Cut back branches that hang over your roof to prevent them from falling and causing damage.
– This also reduces the amount of debris that can accumulate on your roof.
4. Address Issues Quickly:
– If you spot any potential problems, fix them as soon as possible.
– Don’t wait for a small issue to turn into a big leak.
Taking these preventive measures will help protect your roof and extend its lifespan. Regular care and attention can prevent many common roofing problems.
Conclusion
Fixing a roof leak may seem daunting, but following the right steps can make it manageable. By identifying the source of the leak, gathering the necessary tools, and following a clear repair guide, you can tackle most roof leaks effectively. Regular inspections and maintenance are also key to preventing future leaks and keeping your roof in excellent condition.
If you need professional help or want to ensure the job is done right, reach out to Tri State Enterprises. We offer expert roof repair services in New Jersey and can handle any roofing issue you may have. Contact us today for a free consultation and let us help you keep your home safe and dry.
